It goes without saying that our candles are super gorgeous! But, many of you sweeties just can't bring yourselves to burn them; and thats ok they are extremely fragrant right out the packaging. But hey! I say burn it and buy another (wink, wink ). After all that's what they're made for; and we didn't spend all that time formulating the perfect soy wax blend, picking wonderful lead free wicks and blending exceptional fragrance oils for nothing. Don't be afraid, go ahead light her up.
For my sweeties with a bit of a tart edge, this is your go to guide for a successful burn session.
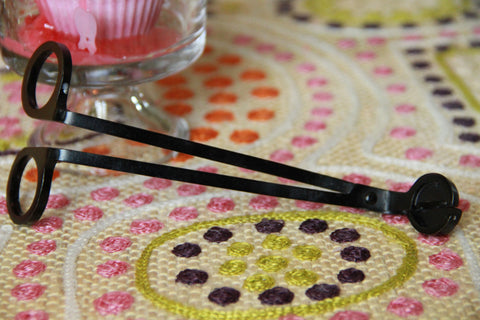
The Tools!
- Premium Cupcake Candle of your choosing
- Wick Trimmers (or a good pair of scissors)
- A Sassy Candle Lighter
-
The Perfect Cupcake Candle Holder ( or something similar. The candle holder you select is very important. We want to achieve a full melt pool so we mustn't waste any of that premium soy wax)


*Remember we Candle with Care
Step 1
Trim your wick to approximately a 1/2 inch
Step 2
I know, I know she's a cutie but you have got to pick up your sassy candle lighter and light her up

And she's still a looker!
Step 3
Check her out! Our goal is an even burn so we can get an awesome melt pool, that's the source of that yummy fragrance filled room we desire. So if you see any wild flames blow her out, trim her wick again then relight, make that bad girl behave!
Step 4
Let it burn and... wait
What are you waiting for?
Well, you're waiting for that pretty icing to melt down all around your cupcake base until u have a smooth even candle.

Looks aren't everything

Notice the icing melting down and beginning to surround the base of our cupcake candle, that's exactly what we want to happen.

TIMBEEEEER!!!!

Oh yea, now we're getting to the good stuff! Notice the large melt pool, at this point we are in a sugary strawberry fragrance filled room!

And we are approaching....


BURN SUCCESS!!!
We have achieved a clean even burn with a full and oh so fragrant melt pool!
*With proper care our Premium Cupcake Candles burn up to 16+ hours!
. After all that's what they're made for; and we didn't spend all that time formulating the perfect soy wax blend, picking wonderful lead free wicks and blending exceptional fragrance oils for nothing. Don't be afraid, go ahead light her up. For my sweeties with a bit of a tart edge, this is your go to&media=//www.wickdconfections.com/cdn/shop/articles/IMG_1259.jpg?v=1468546370 "Pin It")
3 comments
Moumita Basu
After the entire candle burns down and solidifies as you have shown (that is after the burn success), any idea what we can do with the left over wax?
Raewyn Henry
Forgot to say that I would put up a credit note to your website.
Cheers
Raewyn
Raewyn Henry
Hi there from New Zealand. I have just been reading your comments and photos of a cupcake candle burning. I have just started making these and am hoping to sell them. Would it be possible to use your photos etc to show the burn process please. I would really appreciate it. Looking forward to hearing from you. Raewyn Henry